


The need to migrate or backup your email data is something that many people come across from time to time. While working with Outlook for Mac, you might have come across situations where you encounter incompatibility problems between different versions and platforms.
This is because while Outlook for Windows stores emails in the PST file, Outlook for Mac saves them using the OLM file format. As the native program does not allow Microsoft Outlook for Mac to be exported as a PST file, the issue is very common for its users.
Fortunately, you can still resolve this problem by following some easy procedures. In this article, we will tell you all about the most reliable methods to convert Outlook for Mac emails to PST.
Why to Convert Email to PST File from Outlook macOS?
In Outlook for Mac, when clicking on the export button, all your mailboxes will be converted into an OLM file. However, when using Outlook for Windows, there is not any built-in function for importing OLM file. In order to open your OLM files in Outlook for Windows or to get a widely recognized backup of your Outlook for Mac, you have to convert your files to .pst format.
Even though using the technique of manually setting up your emails through IMAP sync (e.g., synchronizing your emails between the Gmail account on your Mac and Windows computers), this process is extremely time-consuming, unreliable, and impractical for big files.
For these reasons, it is recommended that you use a specialized software tool.
The Remarkable Method: MacMister OLM Converter for Mac
If manual techniques do not suffice, there exists an application which can help you achieve your goal quickly and effectively. The one that deserves the most praise when it comes to this particular job is the MacMister OLM Converter for Mac.
Such application has been designed especially for people using macOS and is able to convert OLM files into PST format effortlessly.
Step-by-Step: How to Convert Your Emails to PST
To complete the conversion successfully, the process is divided into two simple phases: exporting the data from Mac Outlook, and converting it using the MacMister software.
Phase 1: Export OLM from Outlook for Mac
- Open Outlook on your macOS device.
- Navigate to the Tools tab in the top menu bar and click Export.
- In the Export to Archive File (.olm) window, check the items you wish to export (Emails, Contacts, Calendars, Tasks, Notes) and click Continue.
- Choose a destination folder on your Mac to save the file and click Save.
- Once the export process finishes, click Finish. You now have your raw OLM file.
Phase 2: Convert OLM to PST using MacMister
Step 1. Download, install, and launch the MacMister OLM Converter for Mac on your system.
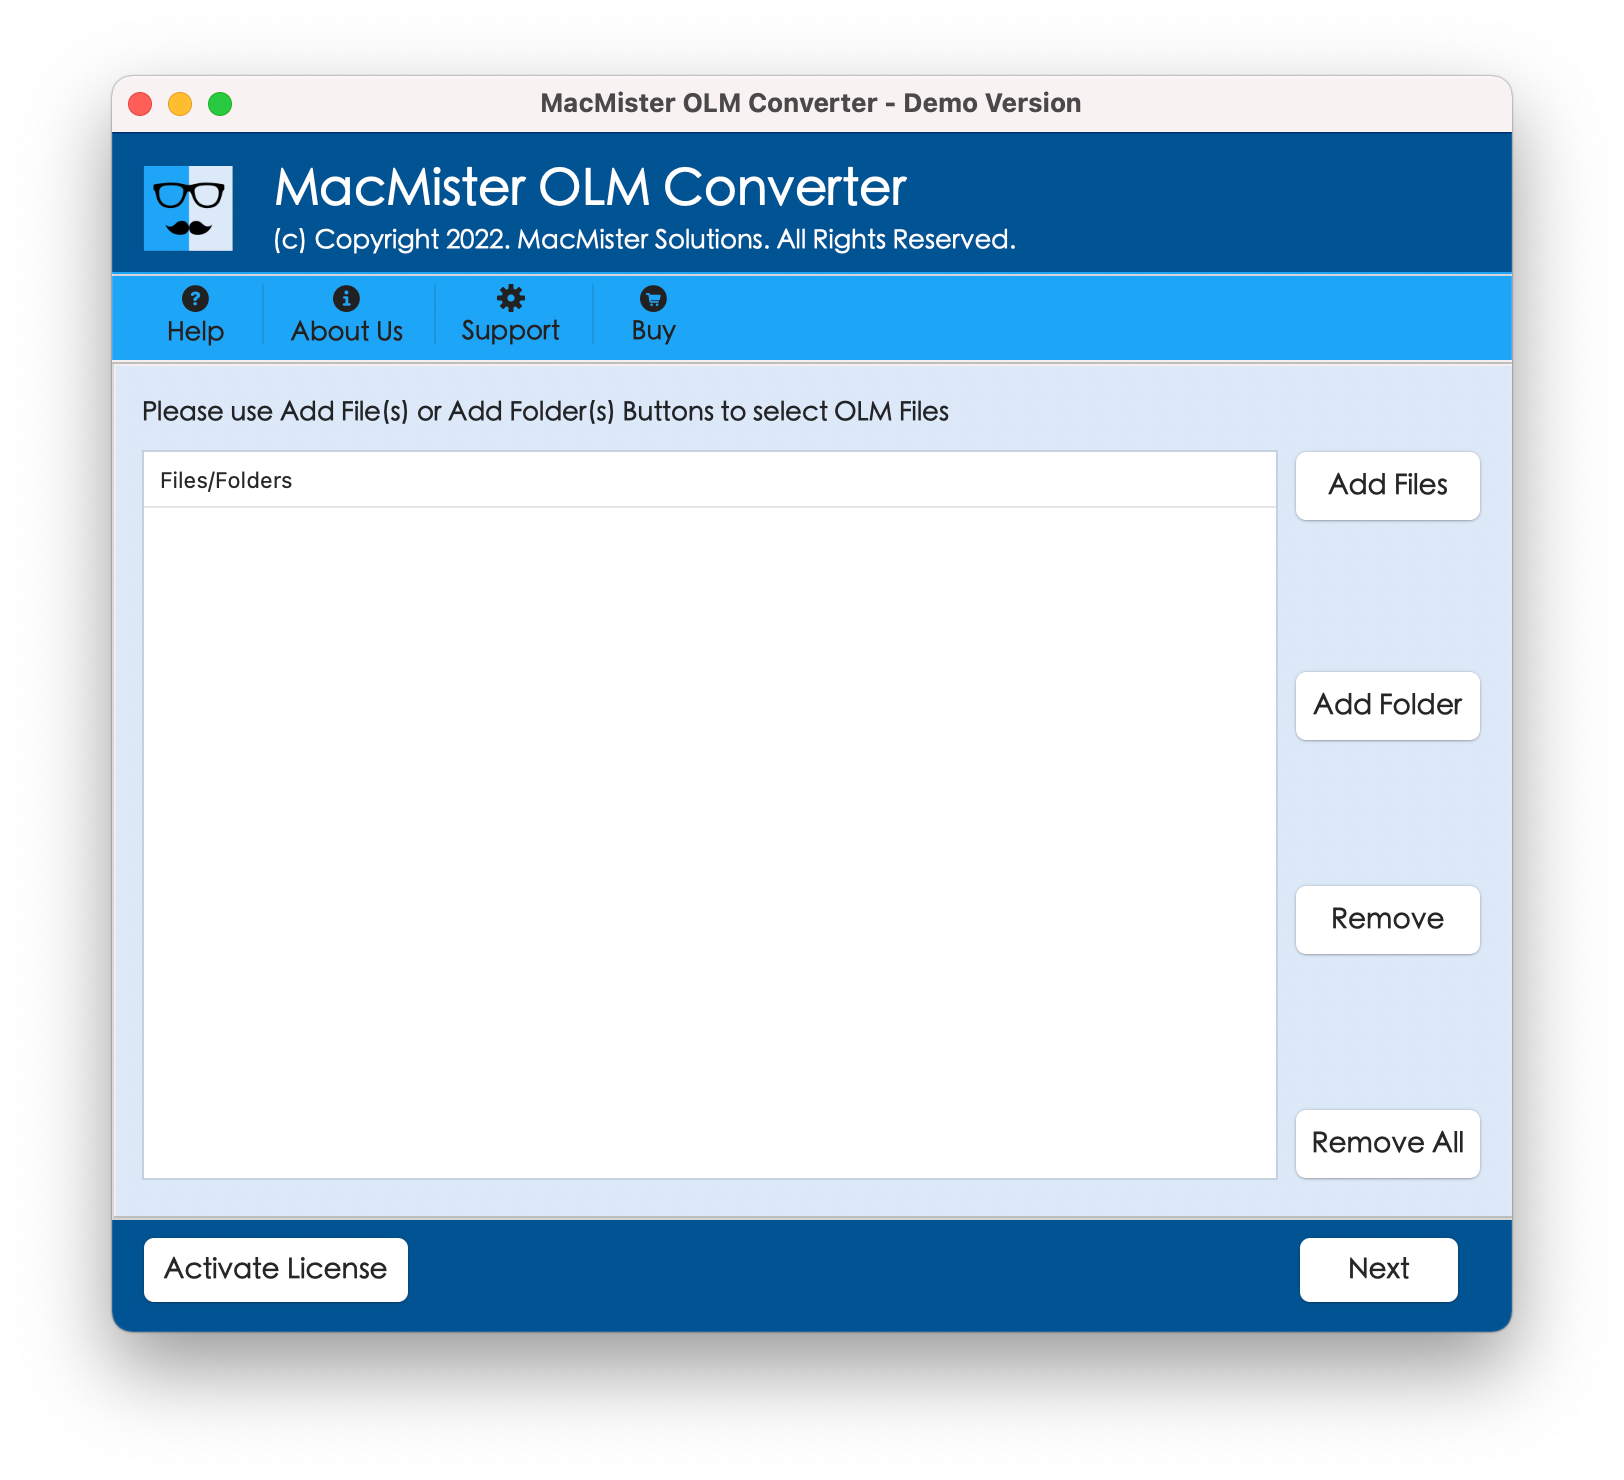
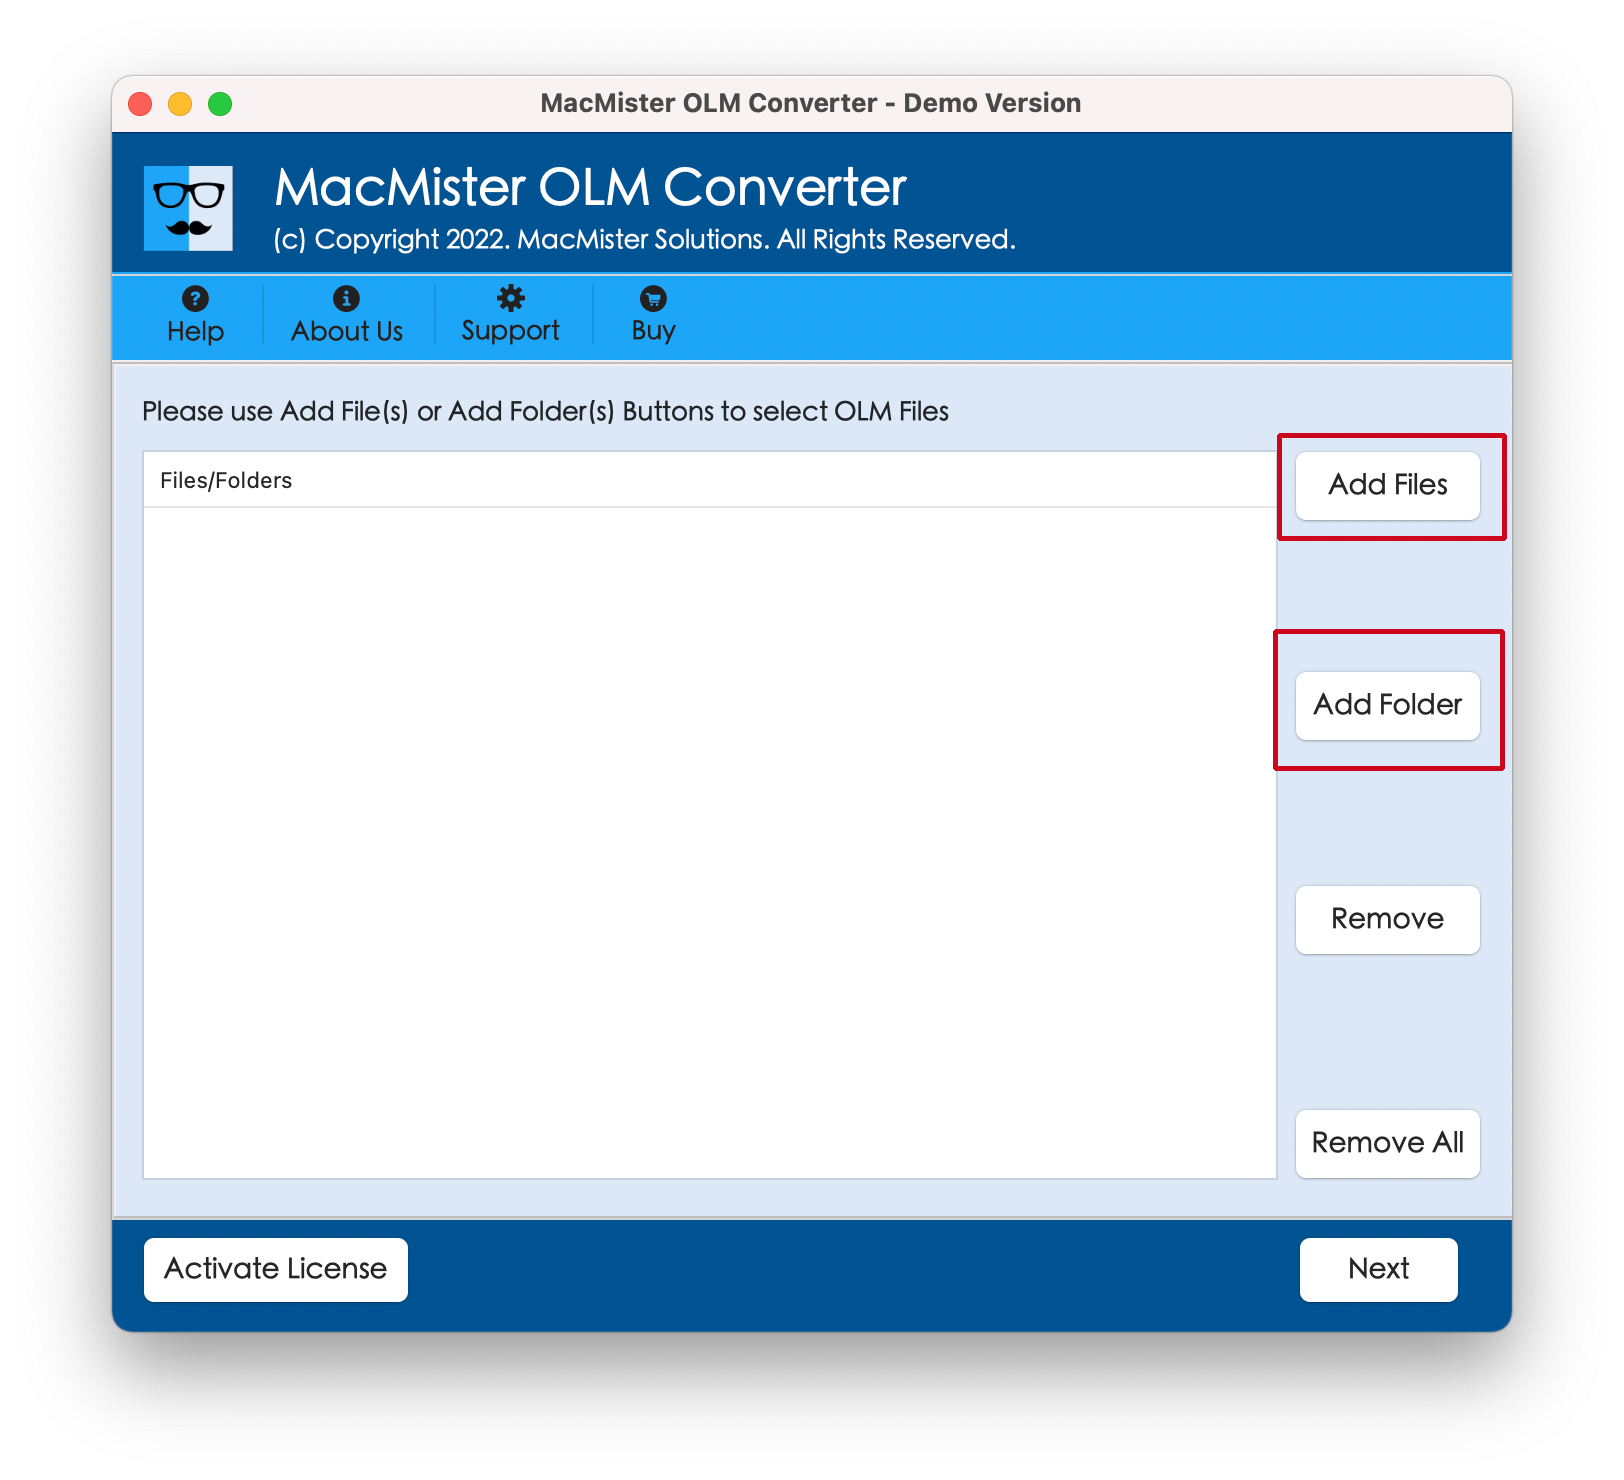
Step 2. Click on Add Files or Add Folder to upload the OLM file(s) exported earlier from Outlook.
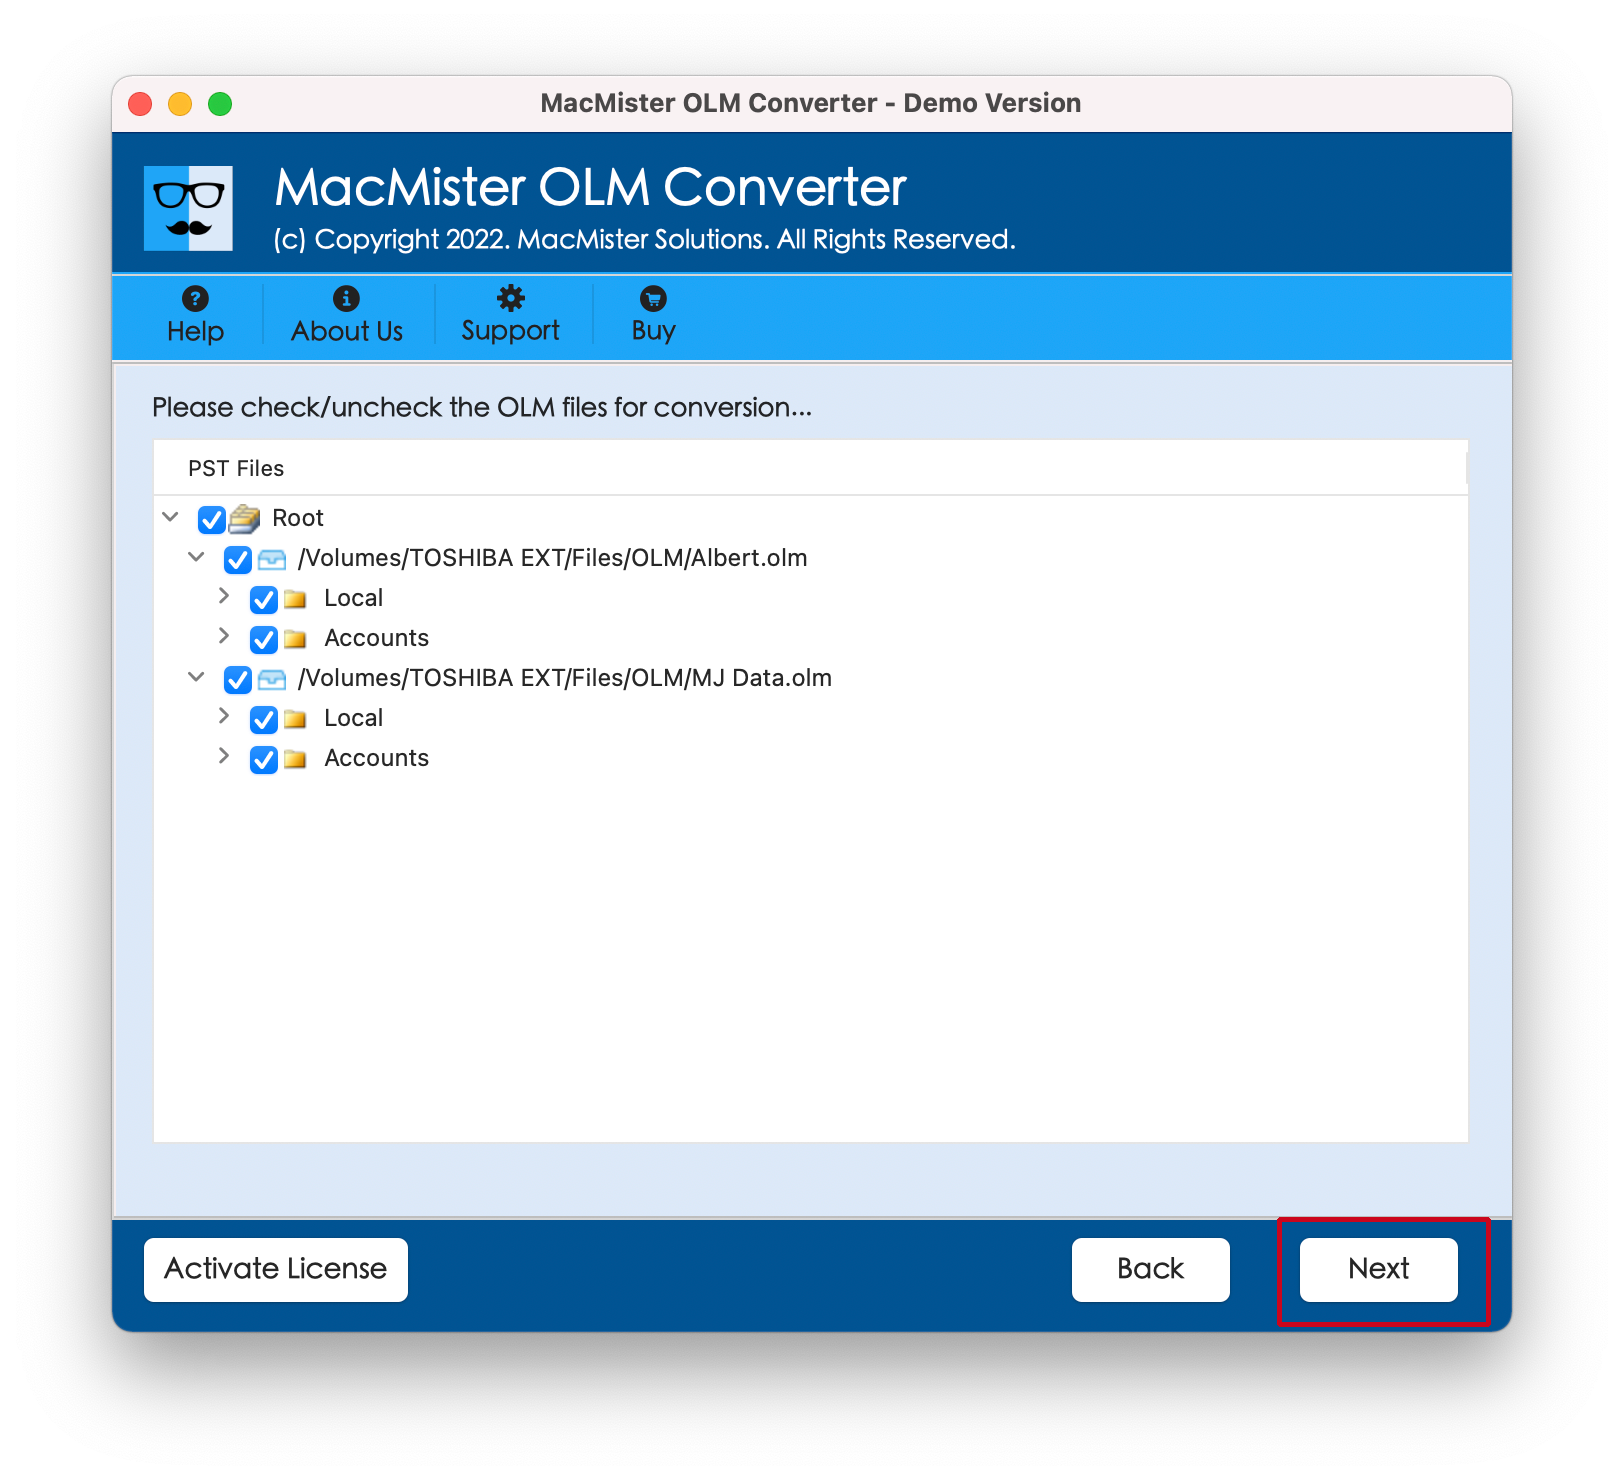
Step 3. Go through the loaded OLM mailbox items on the screen. Select or unselect specific folders based on your requirements.
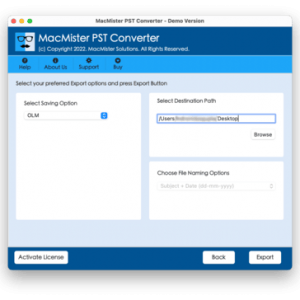
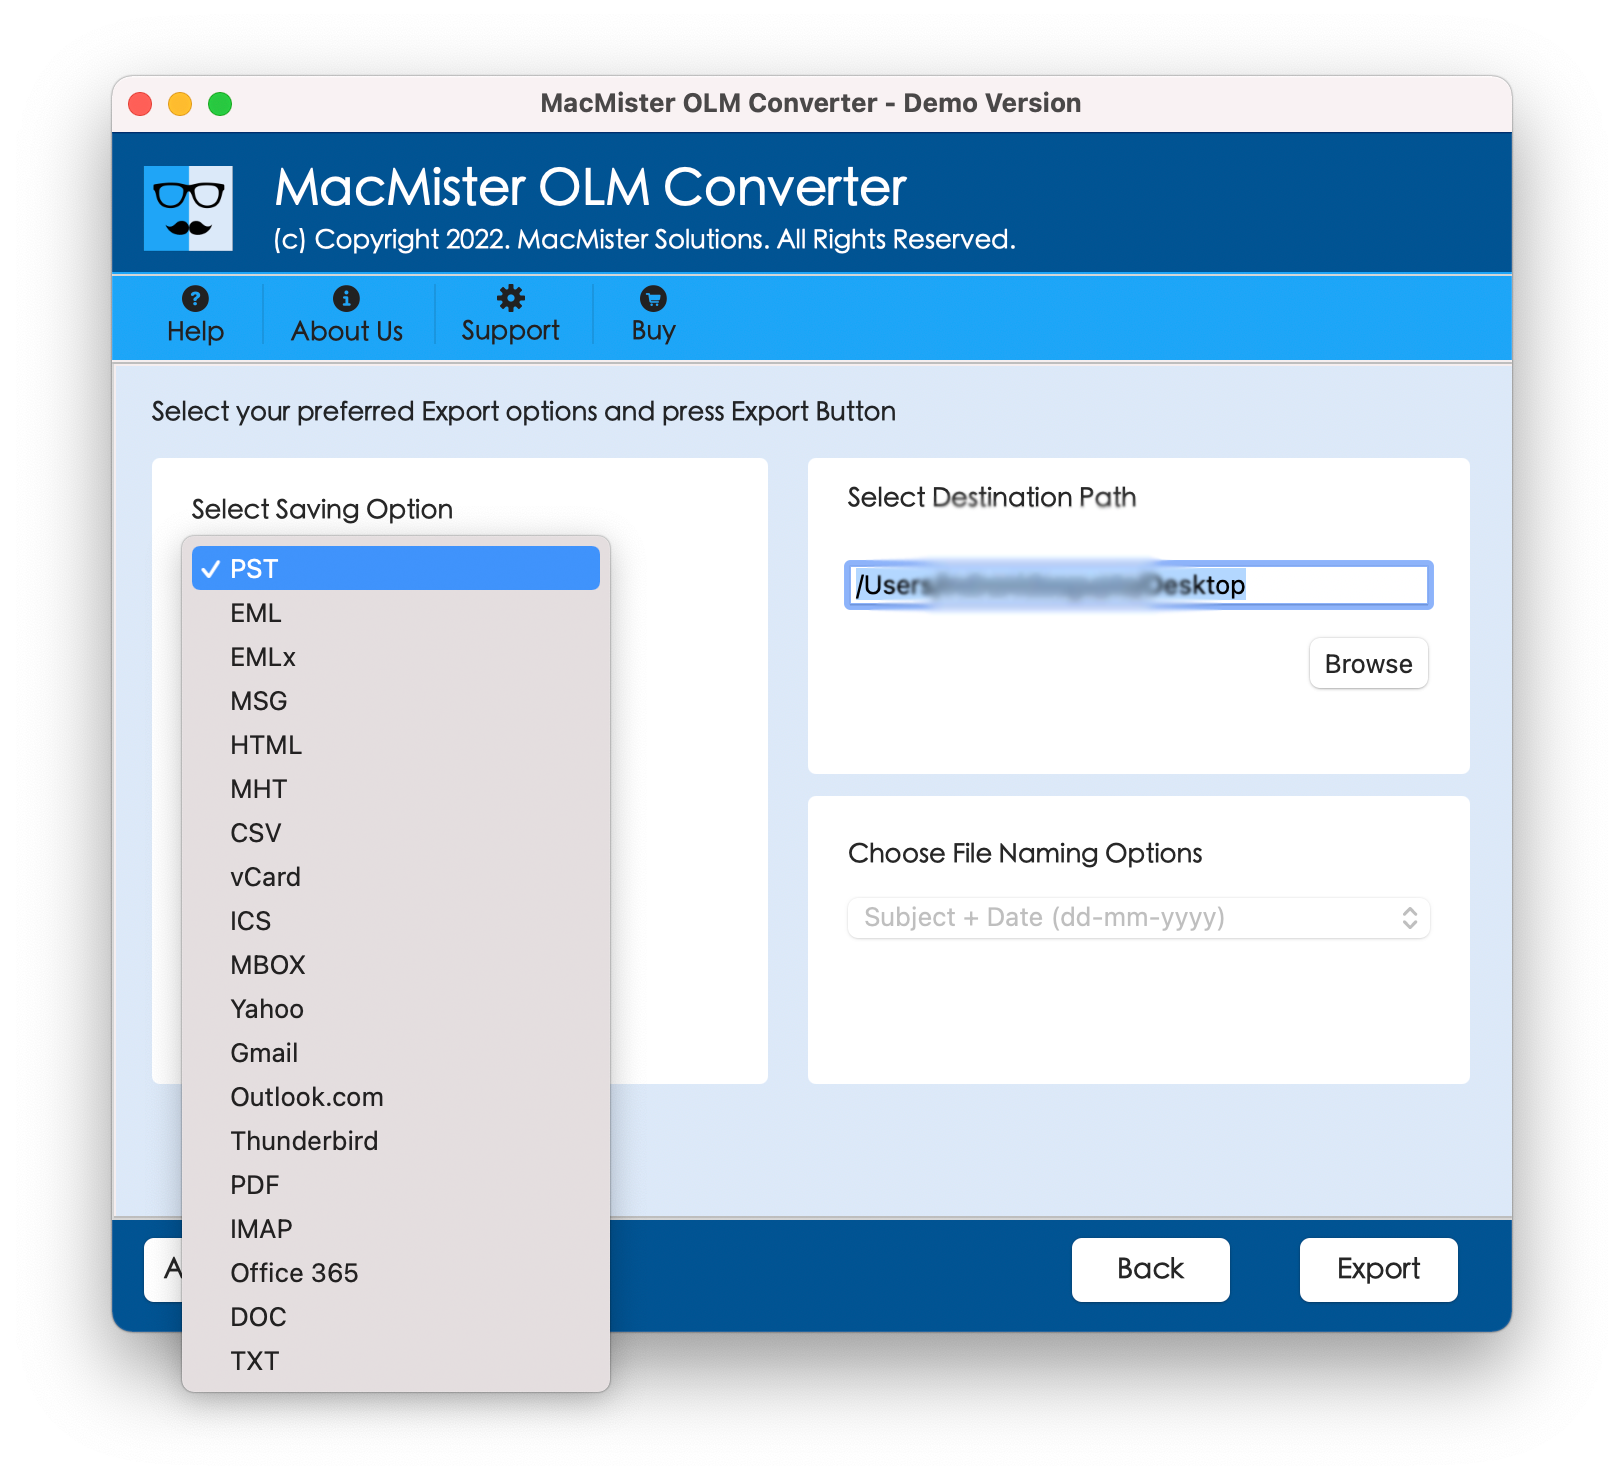
Step 4. From the drop-down menu of saving options, select PST as your target format.
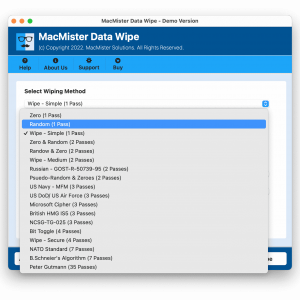
Step 5. Set PST sub-options according to the requirements and tap Export.
Step 6. Check the live conversion report appearing on the screen.
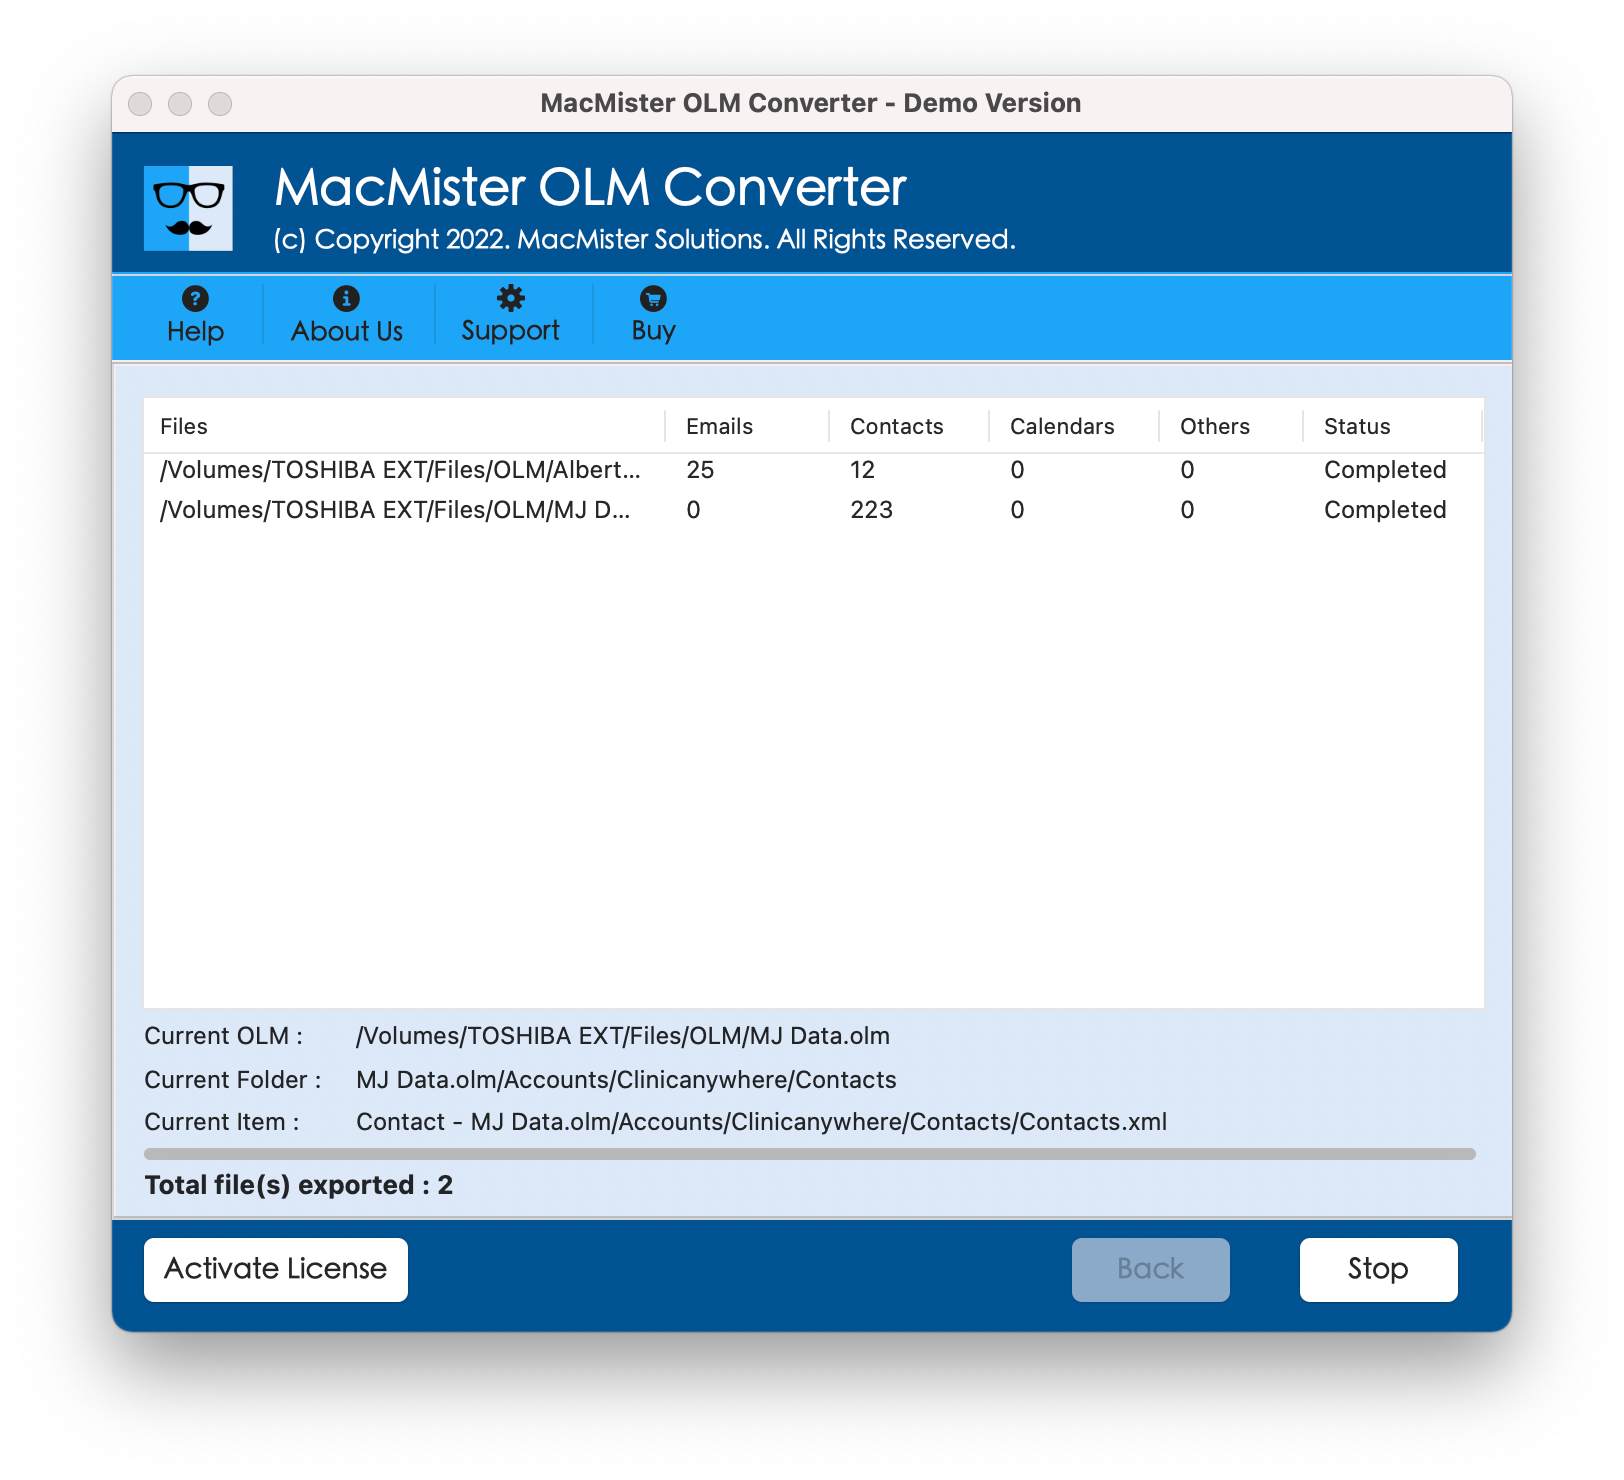
The software will process the files securely, providing a live progress report. Once completed, a notification will pop up confirming the successful conversion.
Conversion will be performed in a secure manner, with a progress indication provided. Afterward, an alert will inform you of the successful conversion process.
Features of MacMister OLM Converter:
- Seamlessly converts Mac Outlook files to compatible PST format files.
- Enables users to save time and convert several OLM files or large email folders all together.
- Preserves the structure and information like the folder structure, formatting of email, metadata, and attachment of the email message.
- Provides selective filtering options, making it possible for the user to export emails only in the selected period or categories and not the whole account content.
- Comes with a very simple and friendly interface for all types of users.
Step-by-Step: How to Convert Your Emails to PST
The whole process will be made easy by splitting it into two straightforward stages; stage one being the exportation of the information from Mac Outlook and stage two being the conversion using MacMister software.
Phase 1: Export OLM from Outlook for Mac
- Run Microsoft Outlook on your macOS system.
- Navigate towards Tools tab appearing in the top menu bar and tap Export.
- In Export to Archive File (.olm) screen, select the required items to export (Emails, Contacts, Calendars, Tasks, Notes) and tap Continue.
- Choose a system location on your Mac to save the file and tap Save.
- After the export process completes, tap Finish.
Phase 2: Convert OLM to PST using MacMister OLM Converter Tool
Step 1. Install the application, then run the MacMister OLM Converter for Mac on your computer.
Step 2. Click on the Add Files or Add Folder option to import the OLM files you have just exported using Outlook.
Step 3. You will see a preview of your uploaded data. You can pick the folders that you want to convert into PST.
Step 4. From Select Saving Options menu, choose PST option.
Step 5. Browse and locate the path where you would like to store the newly converted PST file. Also, set other options as per requirements and click Export.
Step 6. The tool will display Live Conversion Report which shows the live conversion preview of OLM files to users.
The program will safely convert the emails, giving you a live update on the process. When the conversion is complete, a message box will automatically appear indicating the conversion has been done successfully.
Conclusion
It need not be so frustrating to convert emails into PST format from Outlook running on Mac. Although the difference in the structure of OLM and PST provides a natural barrier to such an undertaking, employing an automatic converter tool such as MacMister OLM Converter for Mac will make everything easier for you. Whether you are switching to a Windows PC, archiving old corporate mailboxes, or simply ensuring cross-platform compliance, this method stands out as the most reliable strategy for Mac users.